Setup
The PAFnow Custom Visuals are already imported and saved by default in the provided PAFnow Report. All evaluations and reports that you create on this basis include the PAFnow Custom Visuals.
However, when you create a new report in Power BI and want to use or update the PAFnow Custom Visuals, you must follow the instructions below.
Importing/Updating a Custom Visual
-
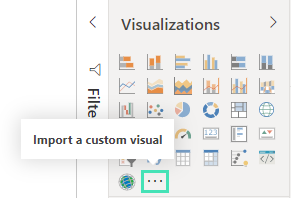
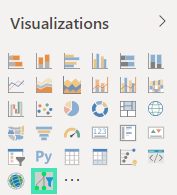
Select the three dots at the bottom of the visualizations pane. The visualizations pane is displayed on the right side of the Discovery Page. If you have it hidden, you have to expand it first.
-
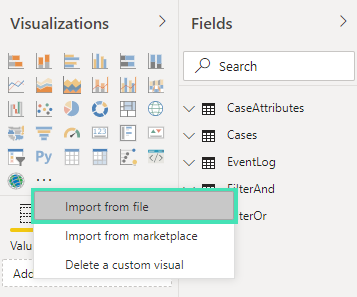
Select Import from file in the drop-down-menu.
-
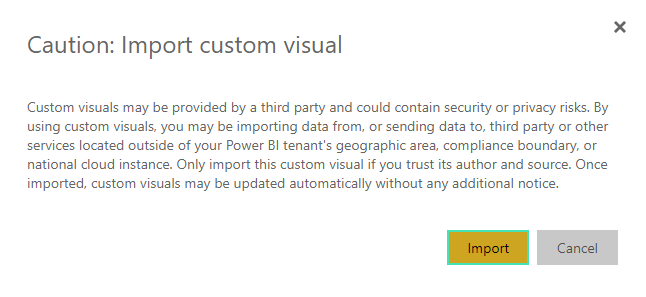
A pop-up may appear informing you that custom visuals are not provided by Microsoft and may thus pose security or privacy risks. Press the Import-button.
-
Select the PAFnow Custom Visual you want to import as a
*.pbiviz-file and pressOpen.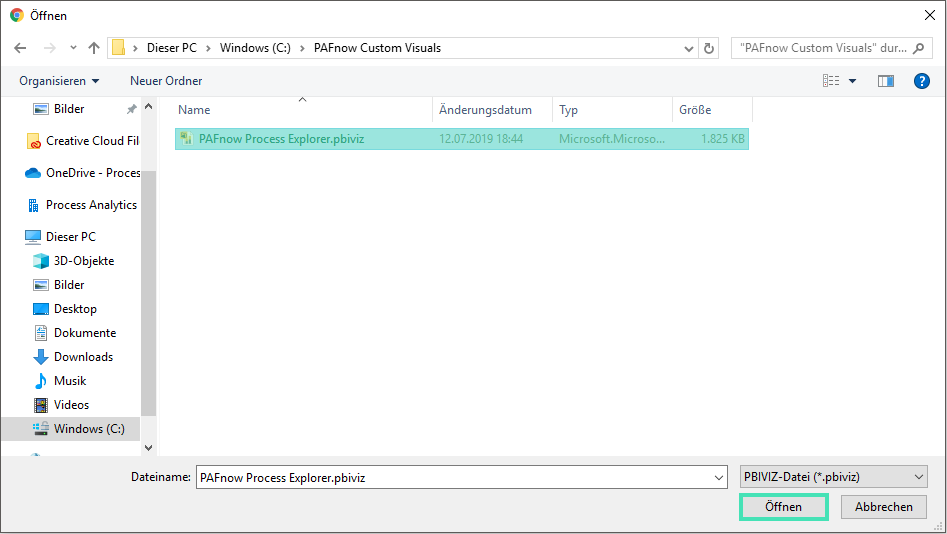
-
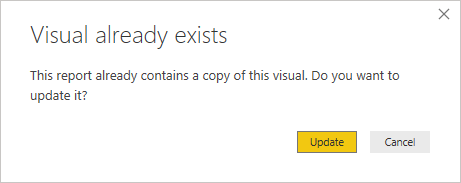
A window may appear informing you that the custom visual already exists in your report. Press the Update-button.
-
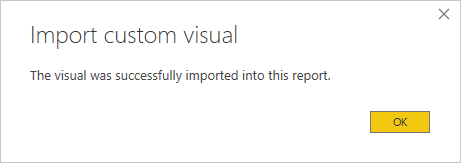
A window appears informing you that the custom visual was successfully imported. Press the OK-button.
-
An icon of the PAFnow Custom Visual is added at the bottom of the visualizations pane. Now, you can use the Custom Visual in your report. Remember to save the file.
Deleting a Custom Visual
If you want to delete a PAFnow Custom Visual from your report, you need to follow these steps.
- Right-click on the icon of the respective PAFnow Custom Visual in the visualizations pane.
-
Select Remove custom visual from report.

-
A window will pop up to inform you that you are about to delete the custom visual. If you want to use the custom visual in this specific report in the future, you will need to import it again. Press the Delete-button to confirm the deletion.
