Scheduling the SSIS Package
If you want to update your data connected to PAFnow in Power BI on a regular basis, you can set up the SQL Server Agent to schedule the PAFnow SSIS Package execution.
Time Management/Scheduling
1) Open SQL Server Management Studio (SSMS) as administrator and connect to the instance of the SQL server containing the Integration Services Catalog.
Attention
Connect to the instance of the SQL Server that contains the SSISDB-database!
2) With the PAFnow SSIS Package you can create a schedule for automatic data import and data processing. The schedule is set in the SQL Server Agent. If you have not already done so, activate the SQL Server Agent. Right-click on SQL Server Agent and select Start.

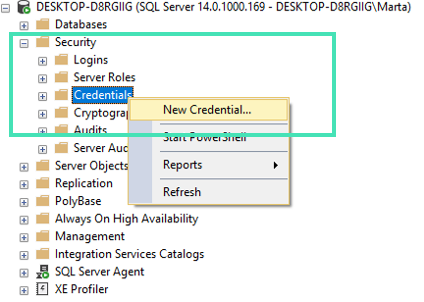
1) The steps defined for the automatic execution of data transformation in the SQL Server Agent must be executed by a Windows user instead of the SQL Server Agent because of authorization restrictions. To do so, a Windows user credential must be created first. Expand the Security node in the Object-Explorer of SQL Server Management Studio and right-click Credentials. Select New Credential….
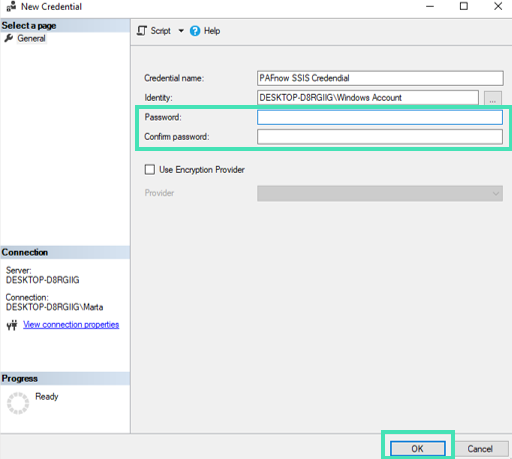
4) An input window appears. Enter any name for your credential under Credential name.
Example
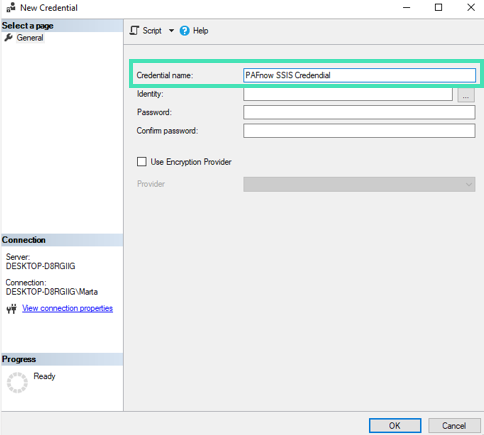
In the example PAFnow SSIS Credential was entered.
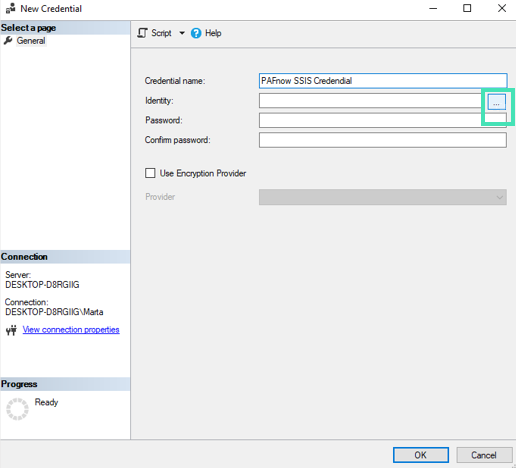
5) Now, you have to enter your Windows account under Identity. To do so, click on the "…"-button.
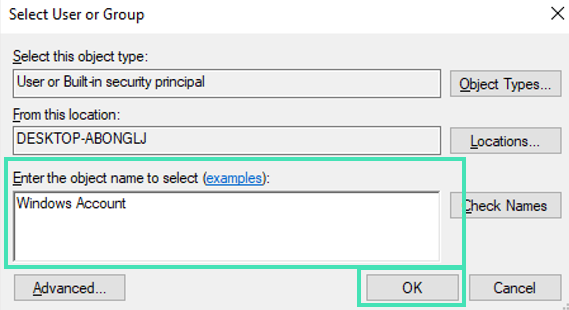
6) A window appears. Enter your Windows account under Enter the object name to select and click OK. To check your input, you can also select Check Names and then press OK.
7) Enter your Windows password under Password and confirm it in the Confirm Password-field. Afterwards, click OK.
Example
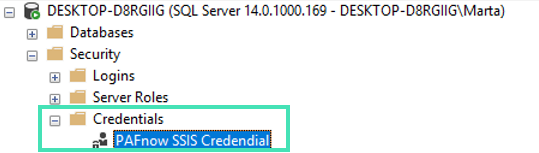
8) Your credential was successfully created. You can find it in the Object-Explorer under the node Security > Credentials.
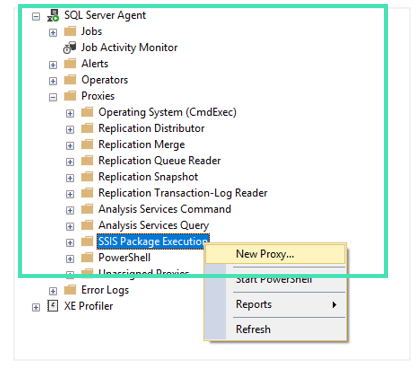
9) In the next step a proxy must be created, so the necessary steps are executed as a Windows user in the SQL Server Agent. Expand the node SQL Server Agent > Proxies in the Object-Explorer of SQL Server Management Studio and right-click on SSIS Package Execution. Select New Proxy….
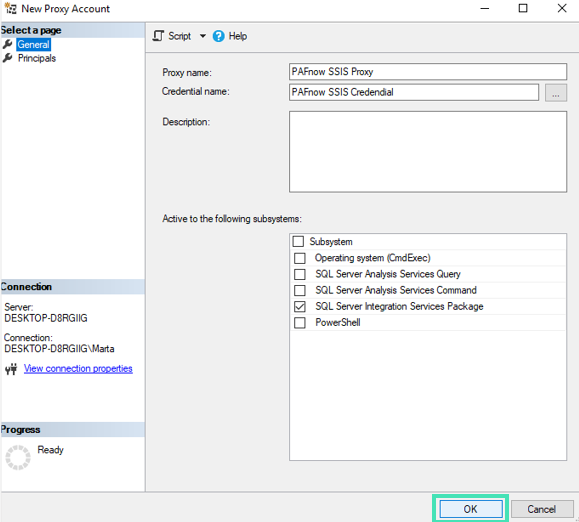
10) An input window appears. Enter any name for your proxy under Proxy name.
Example
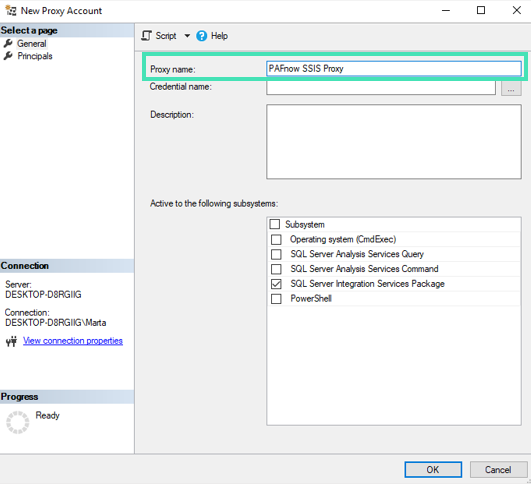 In the example PAFnow SSIS Proxy was entered.
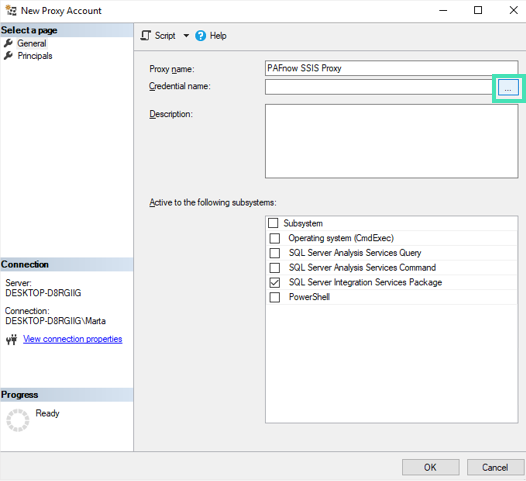
11) Now, your previously created credential must be entered under Credential name. To do so, click on the "…"-button.
12) A window appears. Enter your credential name under Enter the object names to select. Click on Browse… to select your previously created credential name.
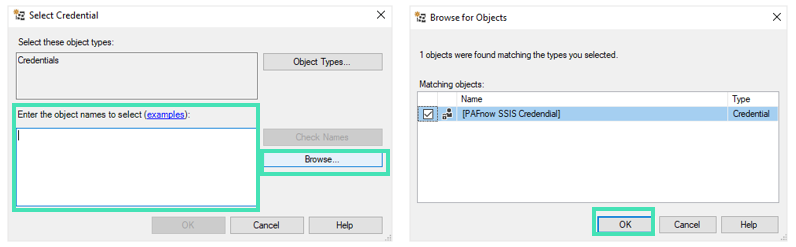
13) Confirm by clicking OK to close the pop-up-window.
Example
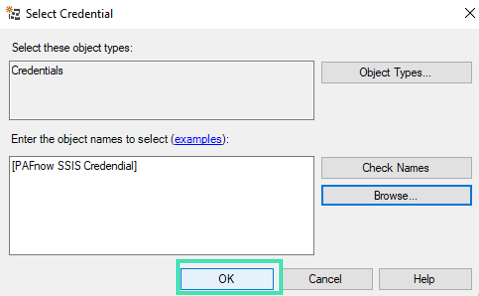
14) Click OK again to finish the process.
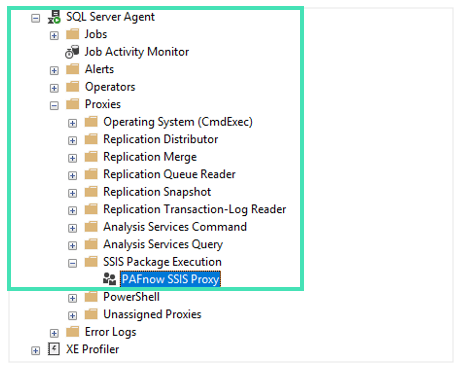
15) Your proxy was successfully created. You can find it under SQL Server Agent > Proxies > SSIS Package Execution in the Object-Explorer.
Example
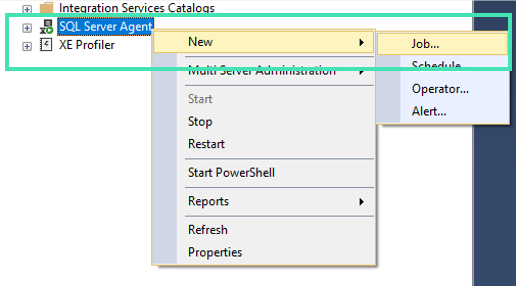
16) Select the SQL Server Agent via right-click and go to New and then Job.
17) Enter a name for your job under Name.
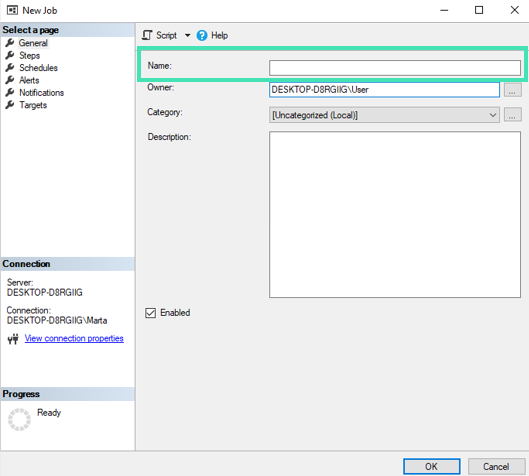
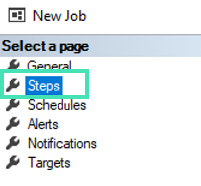
18) Switch to Steps in the menu on the left.
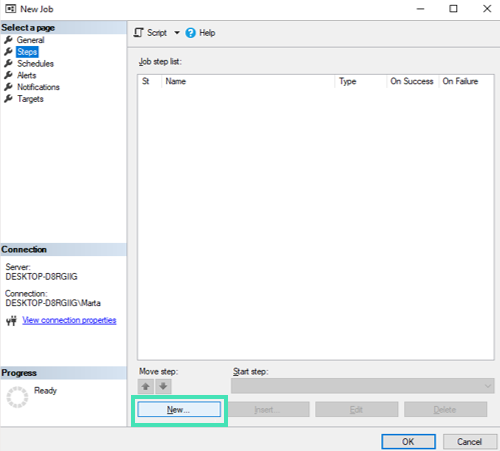
19) Select the button New.
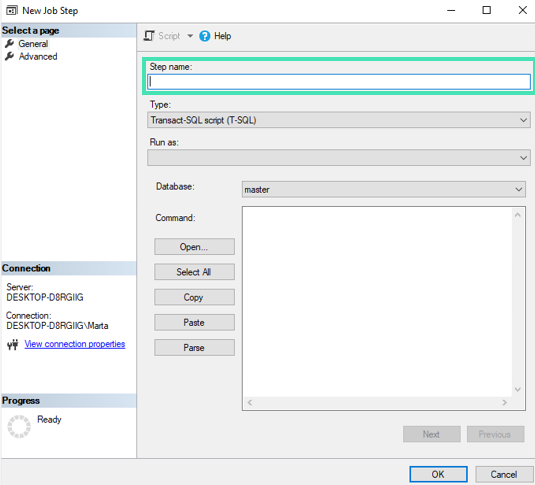
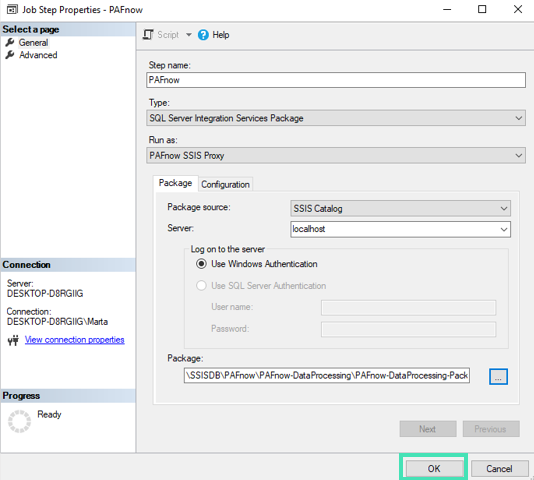
20) Enter the name for the step to be executed in the job under Step Name.
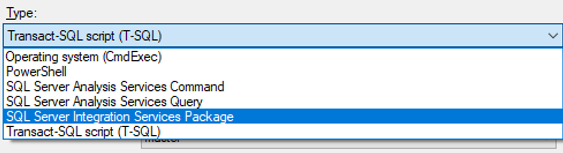
21) Select SQL Server Integration Services Package under Type.
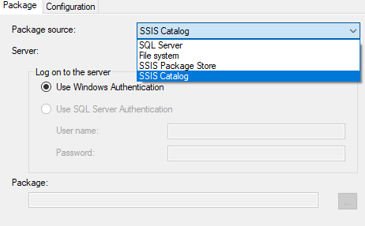
22) Choose SSIS Catalog under Package Source.
23) Select the proxy you created under Run as.

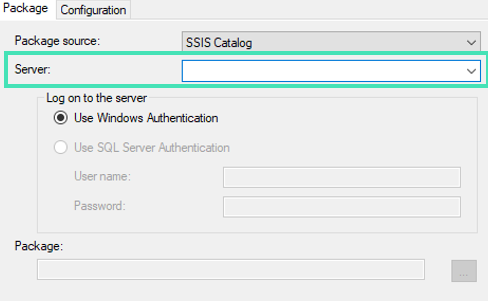
24) Enter your server name under Server.
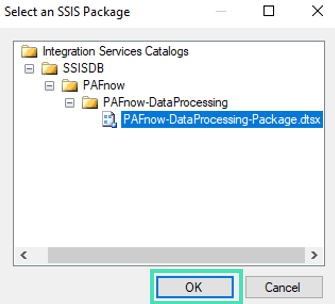
25) Select the "…"-button next to Package.

26) Navigate to the PAFnow SSIS Package and confirm with OK.
27) Finish the configuration of the step by clicking OK.
28) The work package for running the PAFnow SSIS Package is now complete.
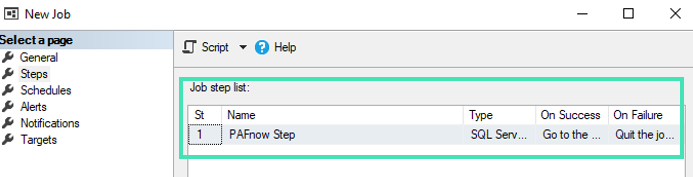
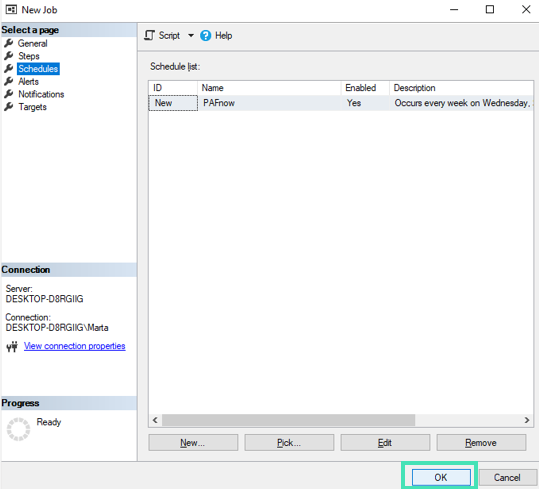
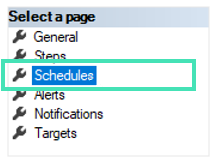
29) Switch to Schedules in the menu on the left.
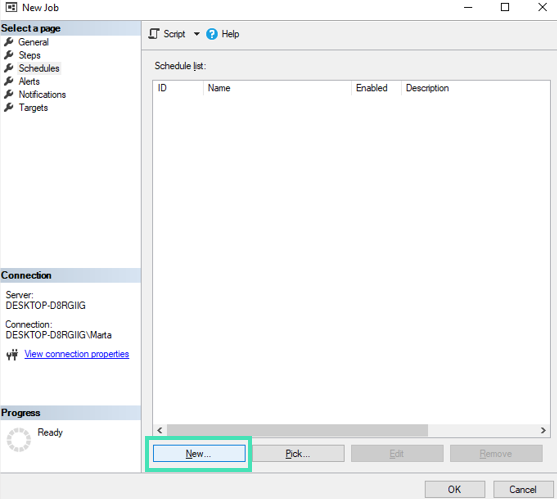
30) Select the button New at the bottom.
Example
31) A window opens in which you can configure your own schedule. This schedule will execute the PAFnow SSIS Package automatically according to your wishes. As a first step, name your schedule.
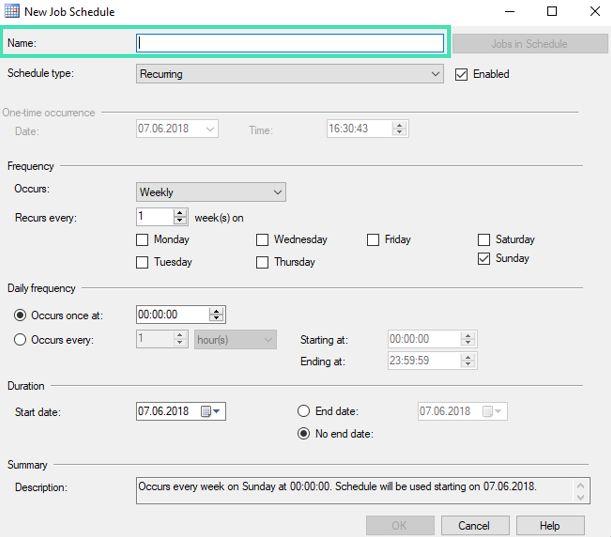
32) Set the frequency of when and how often the PAFnow SSIS Package shall be executed. Confirm your schedule by clicking OK.
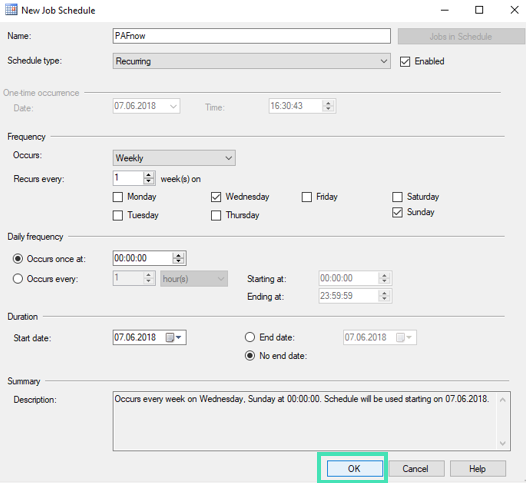
33) Complete the configuration of the schedule by clicking OK.
Example